Setting up your Project
As you complete these daily challenges there are 2 different approaches you can take:
Focus only on HTML & CSS With this approach, you’ll only write HTML and CSS. — Of course you can use whatever flavor of CSS you want (Tailwind, Sass, Less, Stylus, or vanilla CSS). You may also want to consider working directly within CodePen (It’s free to set up an account)
Create frontend components within RedwoodJS / React You’re still writing HTML and CSS, but your ultimate deliverable is a frontend component library within Storybook. RedwoodJS is a fullstack React framework. So, yes, you’re creating React components, with an emphasis on the HTML (jsx) and CSS. The solutions that I provide will use this approach. If you’re unfamiliar with React, don’t worry! I’ll do my best to explain each step. Plus, I believe Redwood is one of the best ways to learn React since it provides a lot of the boilerplate code and all the configurations you need are already set up, out of the box.
So, let’s set up our project!
First you’ll need to make sure you have Node, version 18.x installed and Yarn (≥1.15) — New to Node and yarn? I have a YouTube video, where I talk about the tooling for a RedwoodJS project. In the YouTube video, we’re setting up a different project, but the process will be the exact same for Advent. Alternatively, you can also run this project within Gitpod. Within the Appendix, I have a separate document for working with Gitpod.
You can use my project as a starting point.
Just go to GitHub and download the Zip or clone the repo to your computer and be done. 😅 You’re ready for the Day 1 challenge. 🙌
git clone <https://github.com/AdventOfCSS/2023-12-00__storybook-tailwind-setup.git>
cd 2023-12-00__storybook-tailwind-setup
yarn install
Right now, our project folder is 2023-12-00__storybook-tailwind-setup but you can change this secret-santa (if you want).
Or, if you want to start from scratch (just for funsies):
Within the Terminal:
yarn create redwood-app secret-santaThis will ask you a series of questions:
Select your preferred language - I prefer TypeScript
Do you want to initialize a git repo? - Yes is the default (and recommendation)
Enter a commit message - Feel free to use the default “Initial commit”
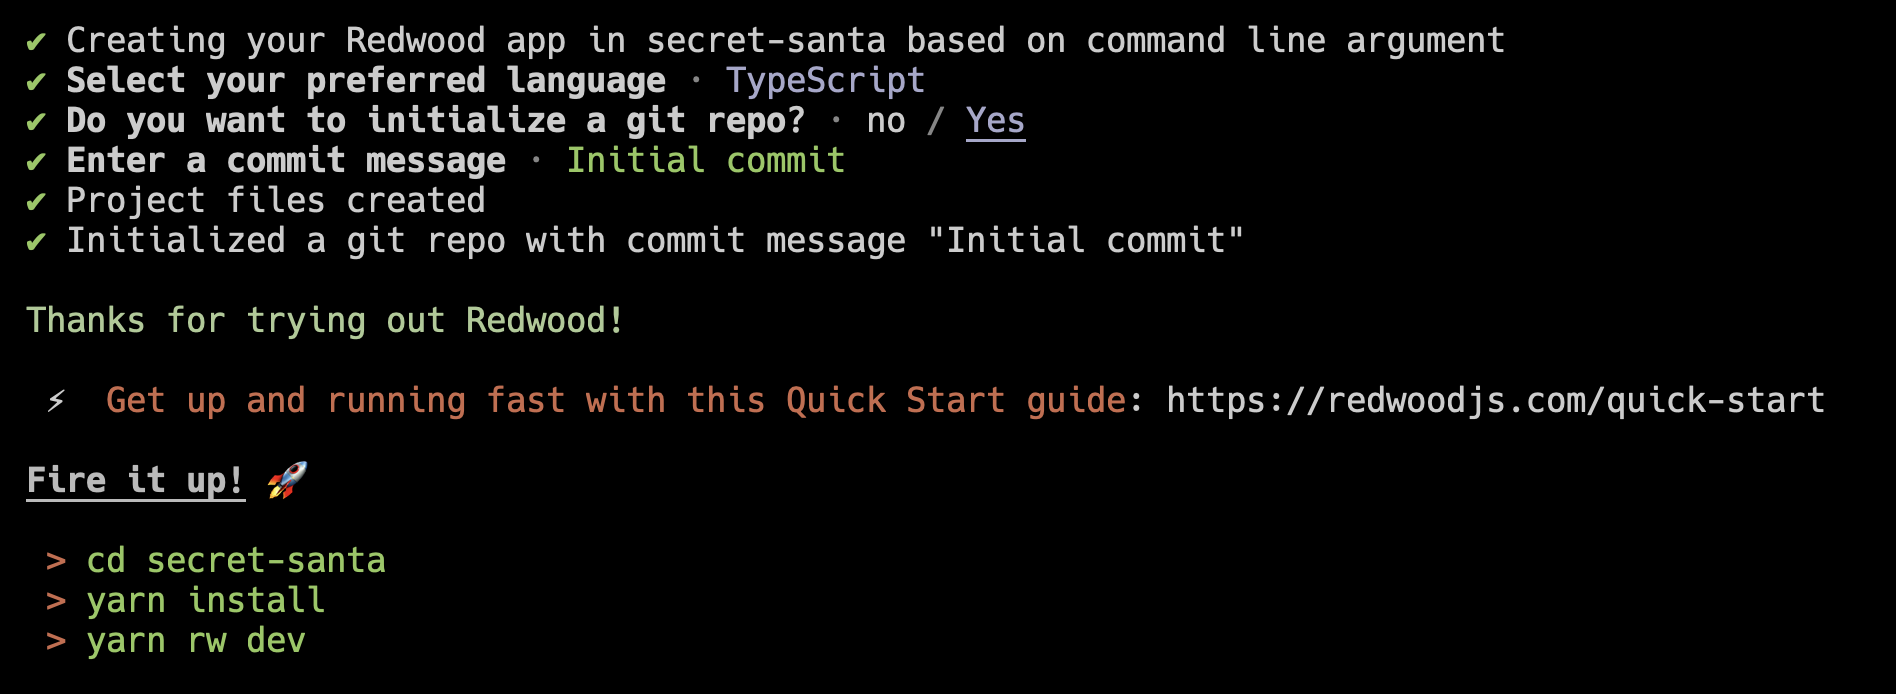
Now, follow the directions. Navigate into the
secret-santafolder we just created with:cd secret-santaRun
yarn install. This might take a minute, because it’s downloading all the project dependencies.Start your project
yarn rw dev
If everything went according to plan, you should see the Redwood splash screen:
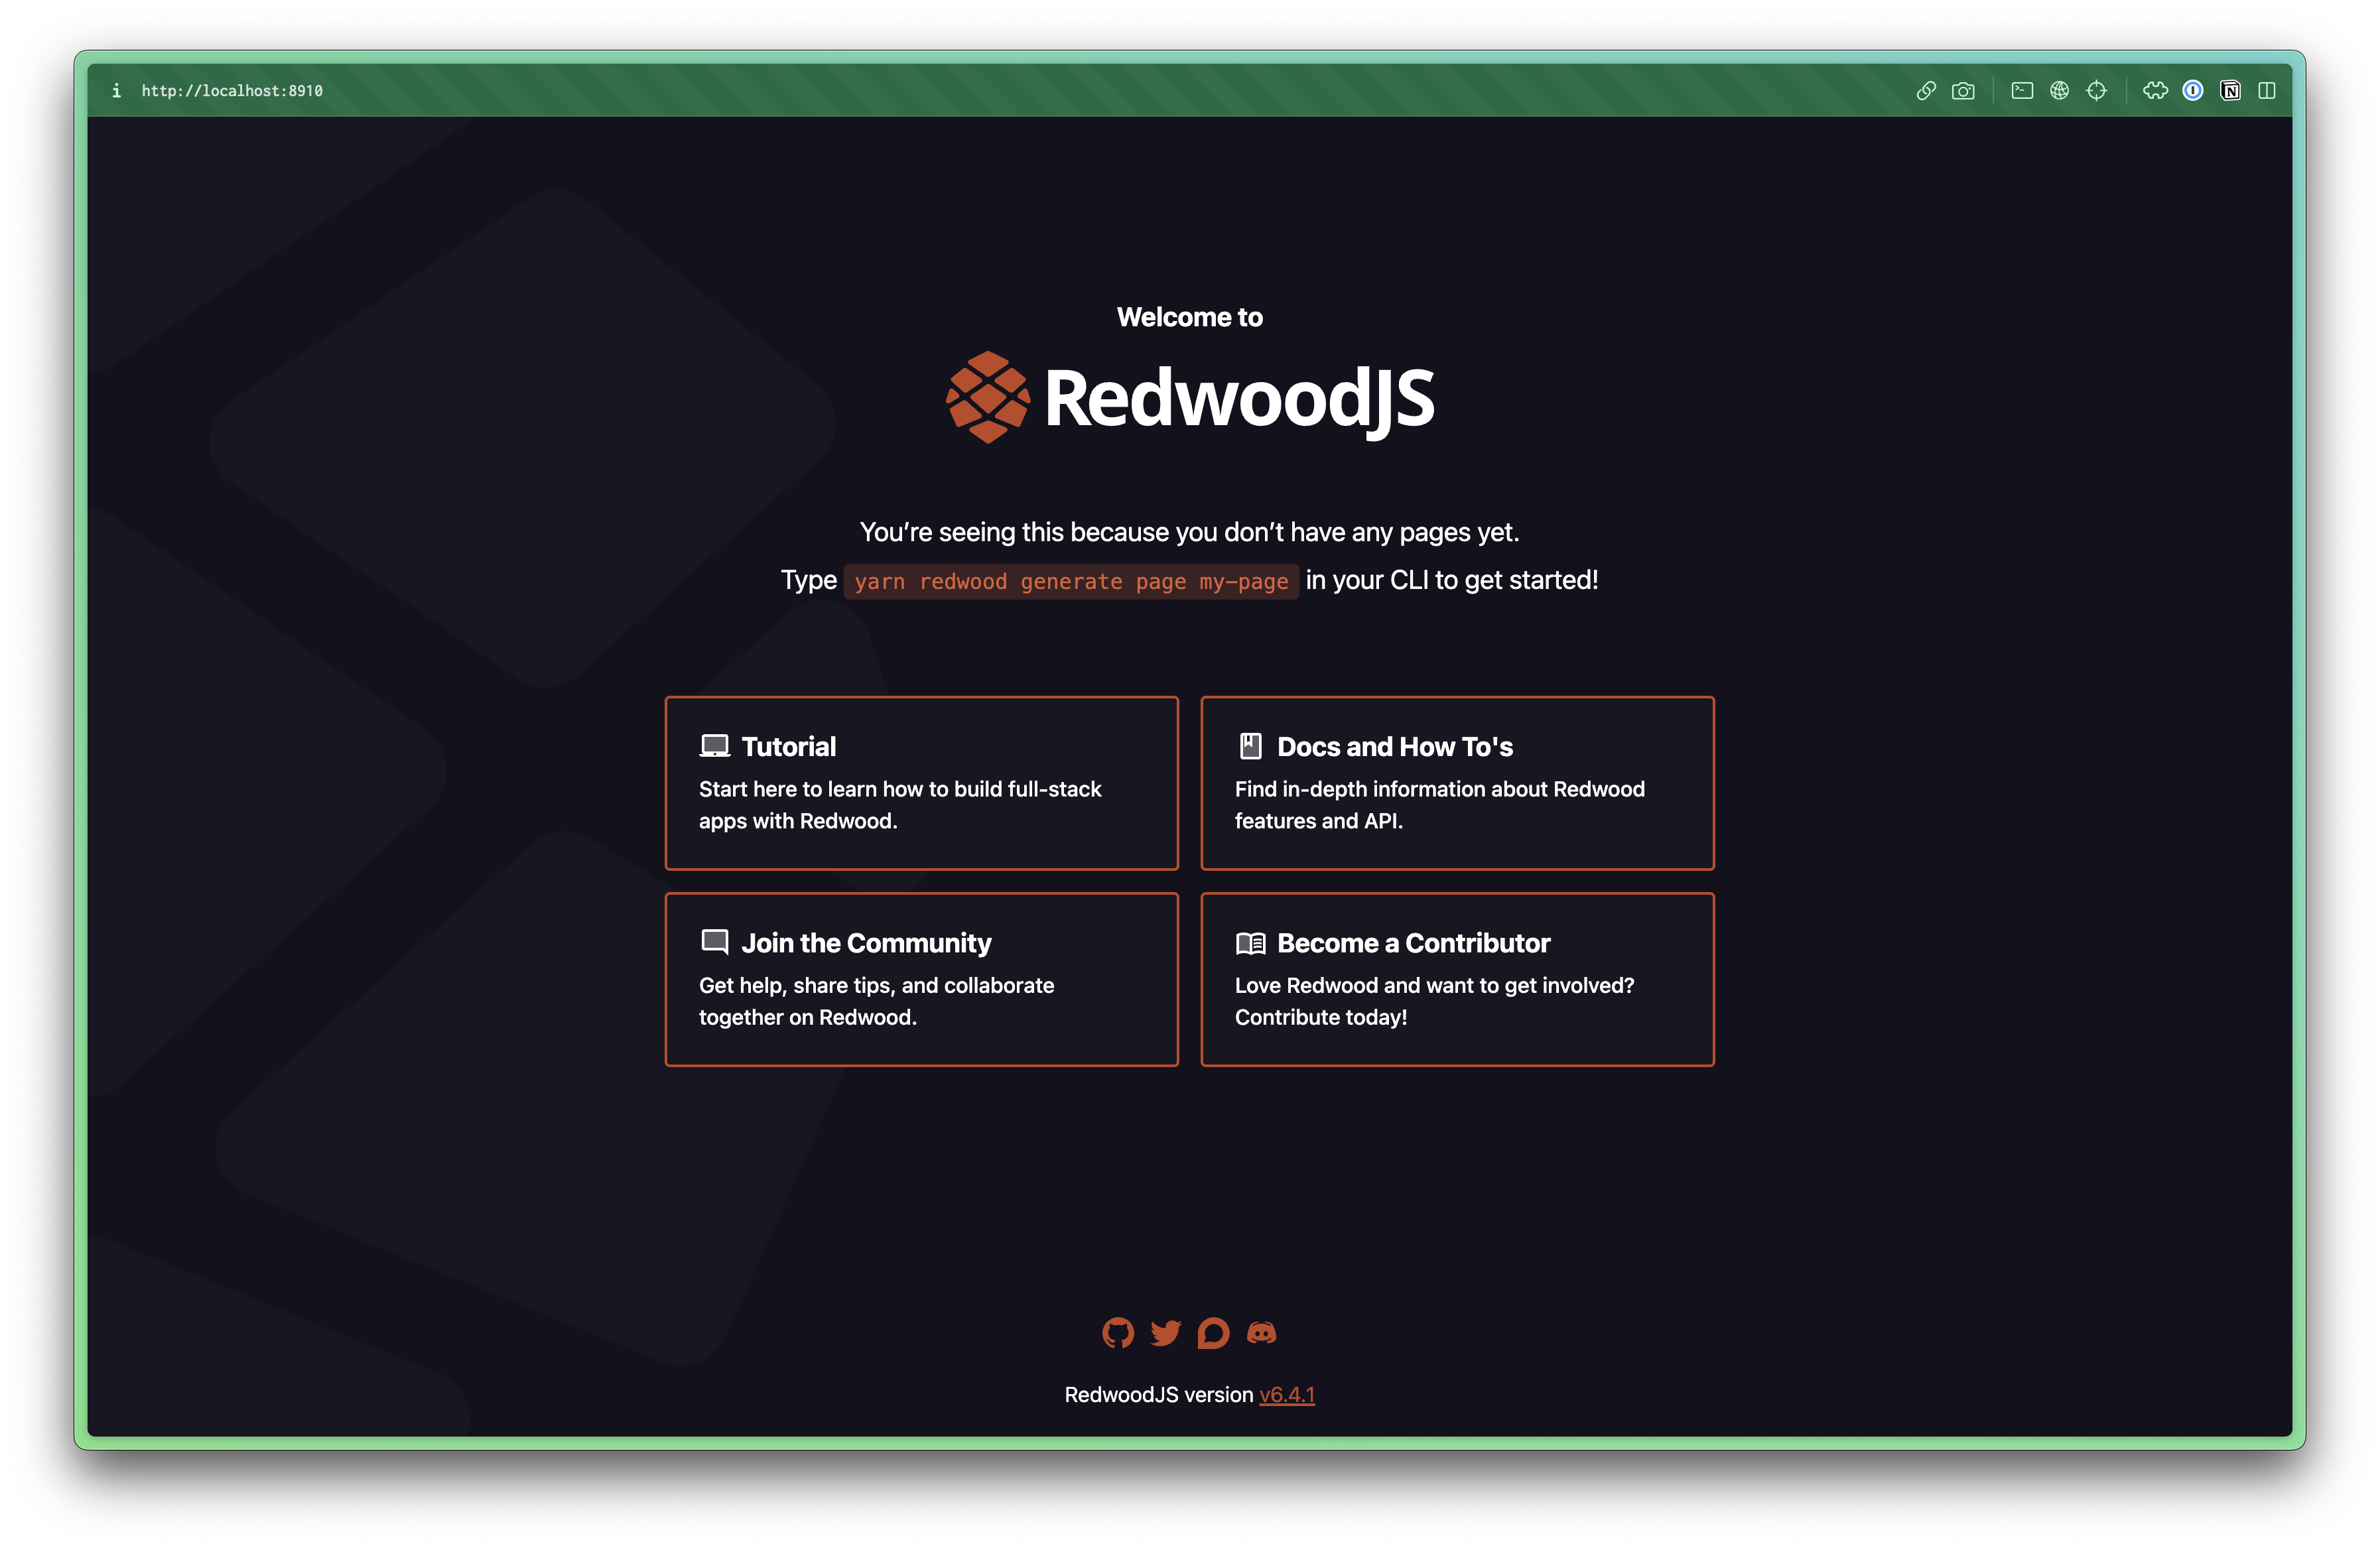
This is your Redwood project, BUT we’ll be living and working inside Storybook.
Storybook is a first class citizen within Redwood, so getting up and running with Storybook is even easier. Within the Terminal, simply run:
yarn rw storybookThis command will take a little longer to run the first time you run it because it has to download all the dependencies that Storybook needs. But once it’s finished you should be able to open Storybook at http://localhost:8910
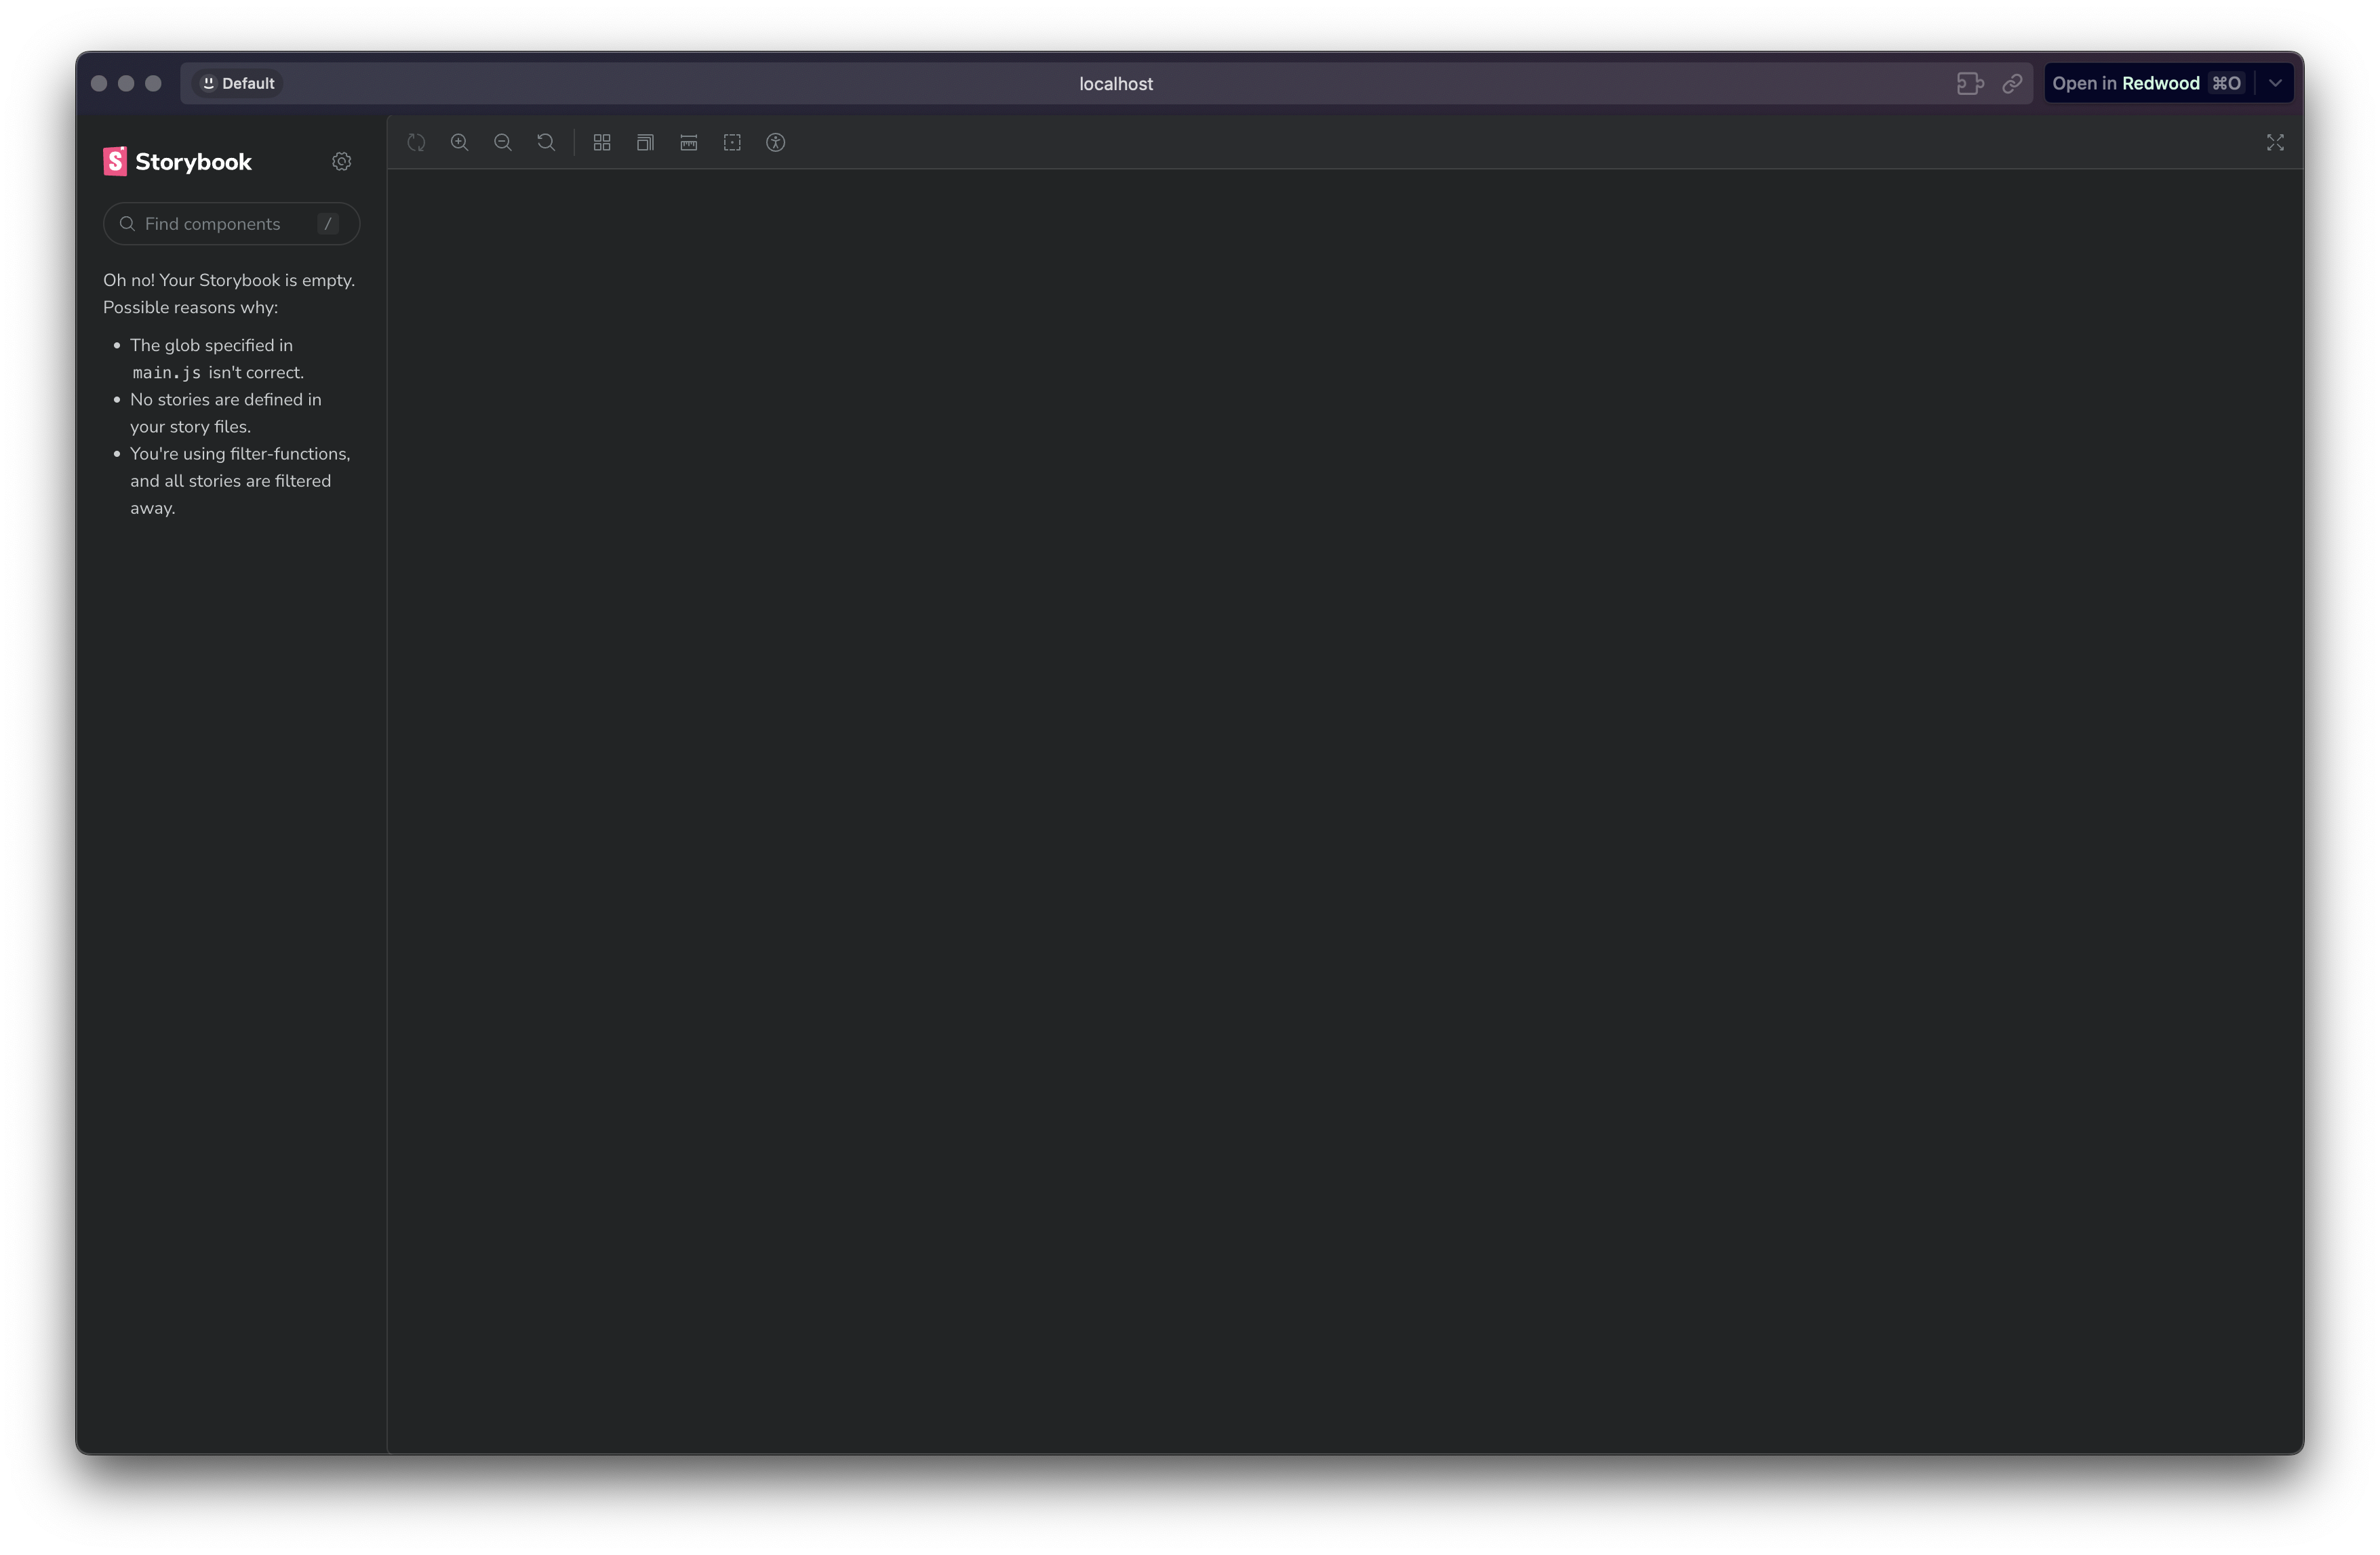
We haven’t created any components or stories yet, so it should look empty. But, you’re ready to go! 💪
Working with Tailwind
Let’s go ahead and set up Tailwind (this is super simple too). Within the Terminal run:
yarn rw setup ui tailwindcssAnd that’s it! 🙌
While we’re here, let’s go ahead and set up the fonts and colors that we’ll need. We’re using four different fonts, all from Google Fonts:




To select a font, click on the weight that you need. For Bebas and Agbalumo this is easy because there’s only 1 weight option available. For Kalam, select Bold 700. And for Inter, select Regular 400, Medium 500, and Bold 700.
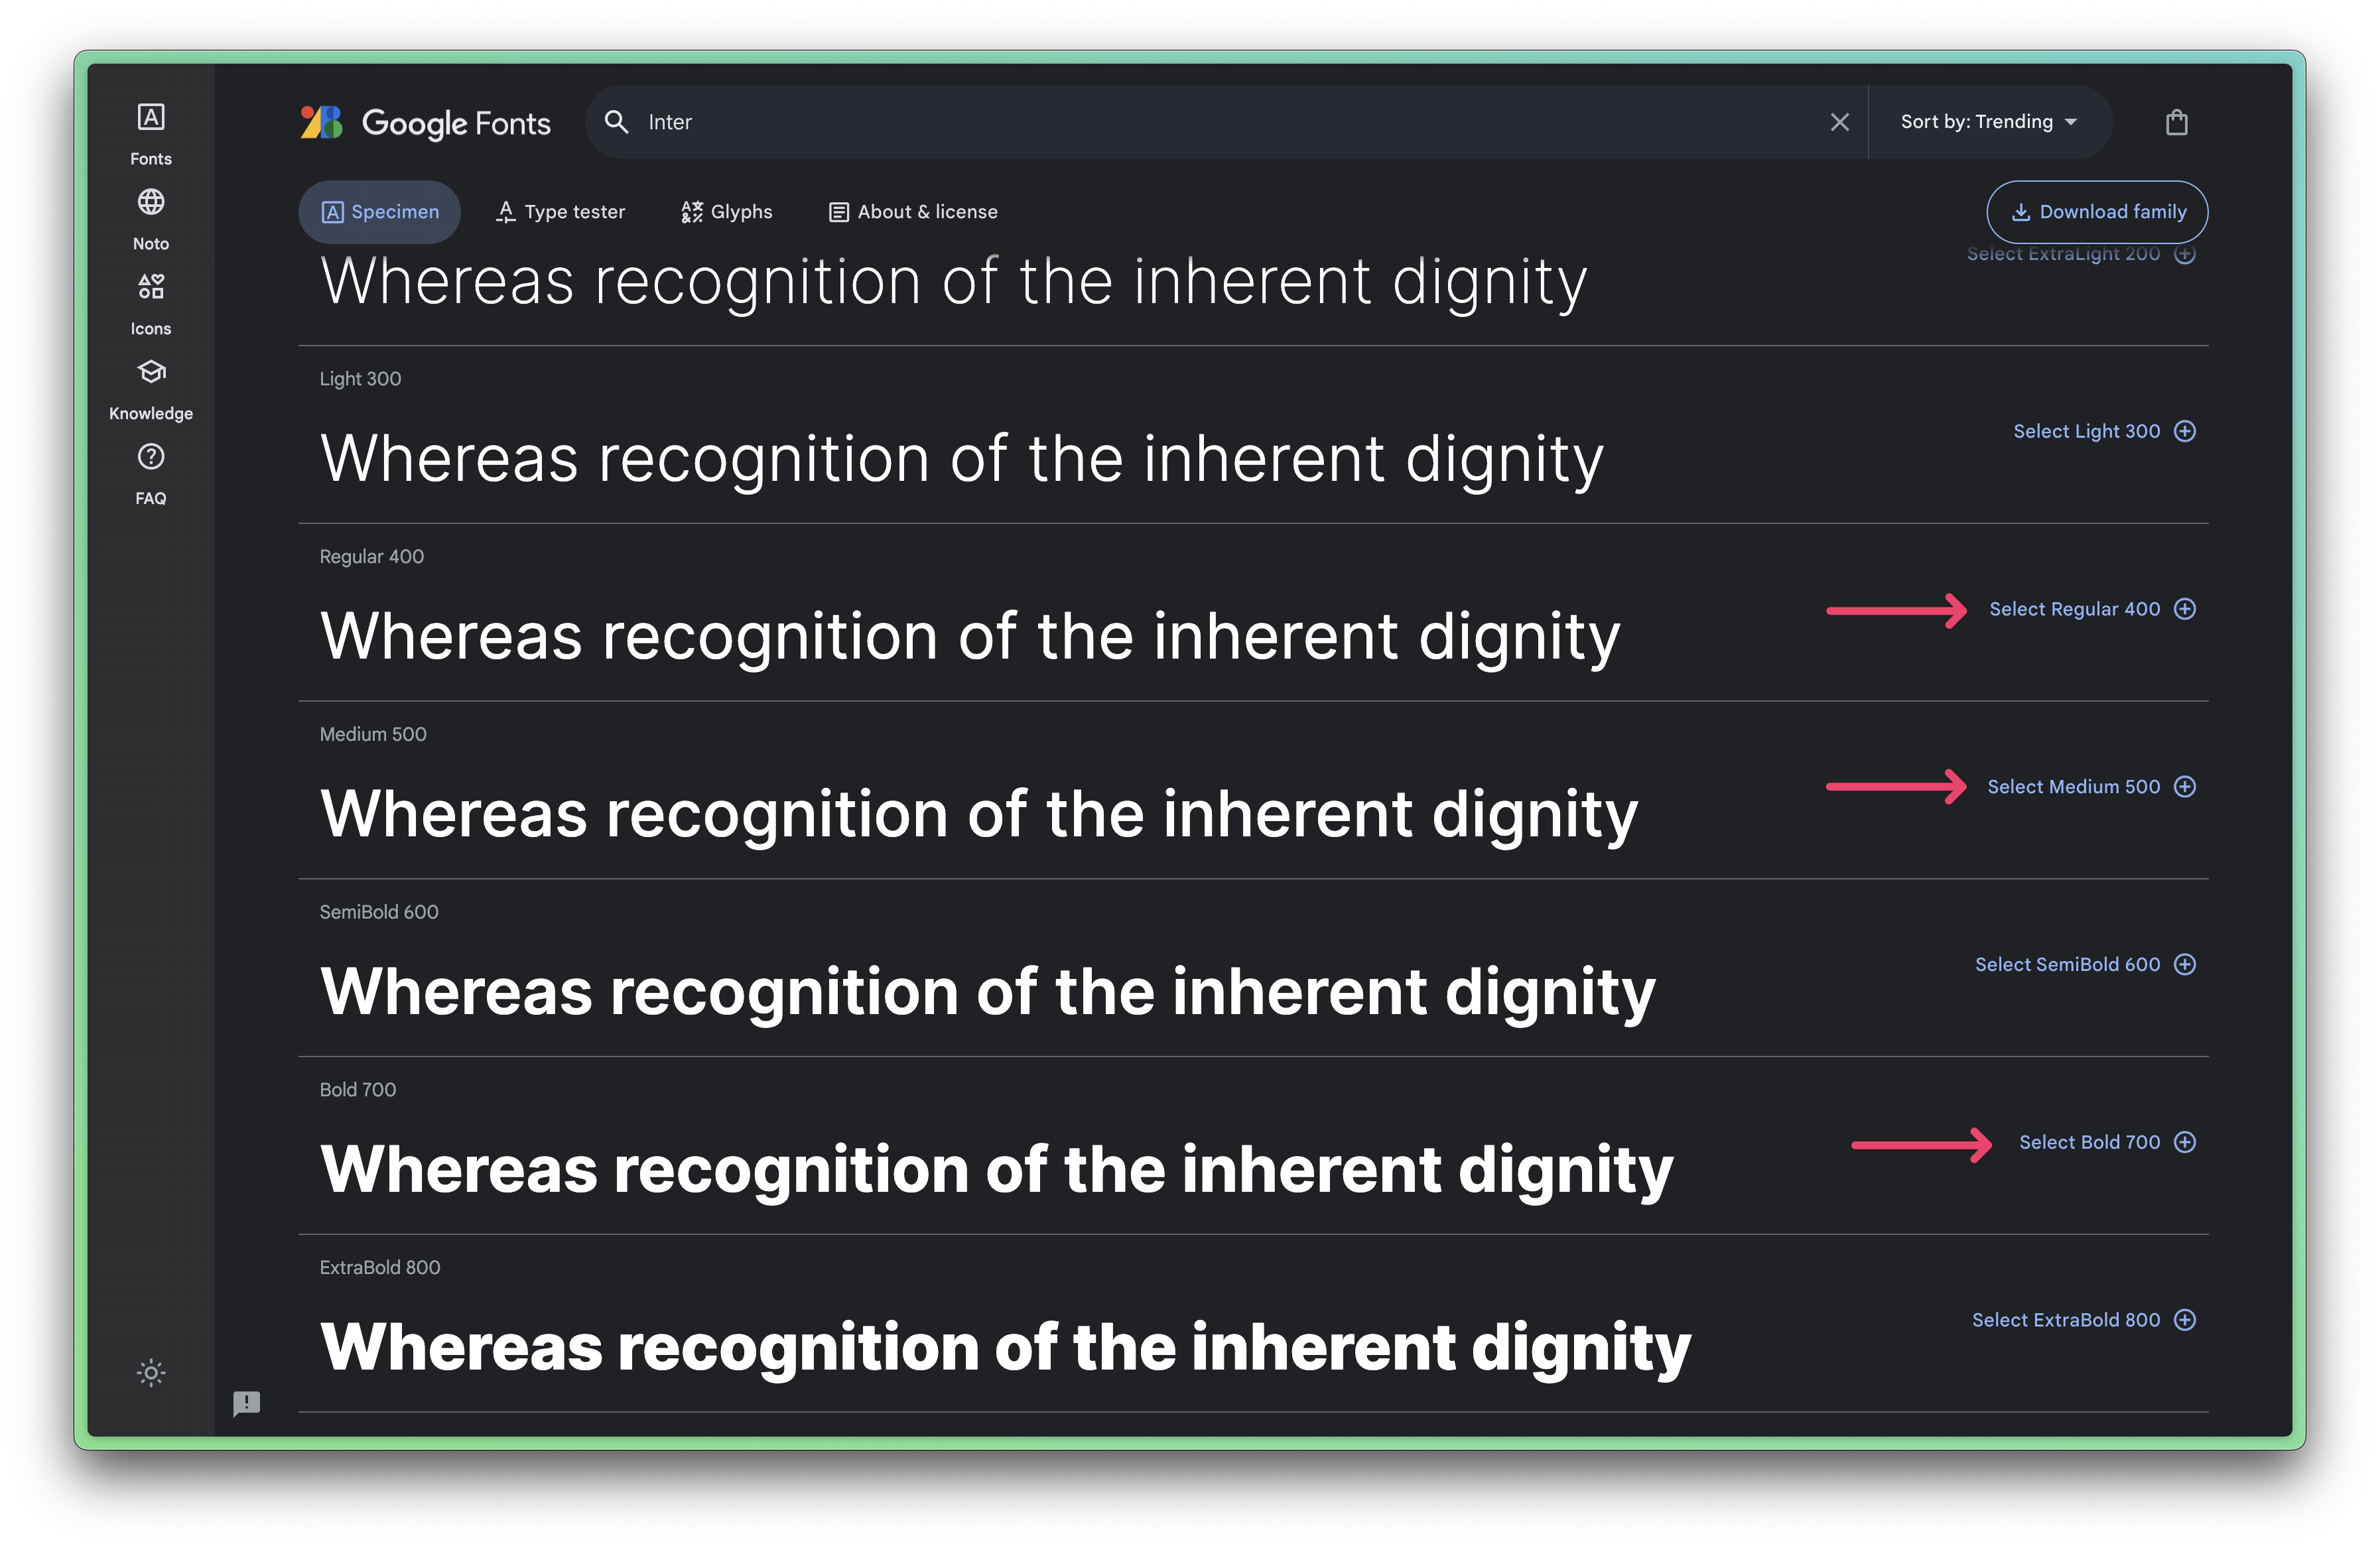
Once you’ve “collected” all your fonts, you should be able to see the selected families in the sidebar. If it’s not immediately obvious, you can slide the sidebar in and out with the bag icon in the top right.
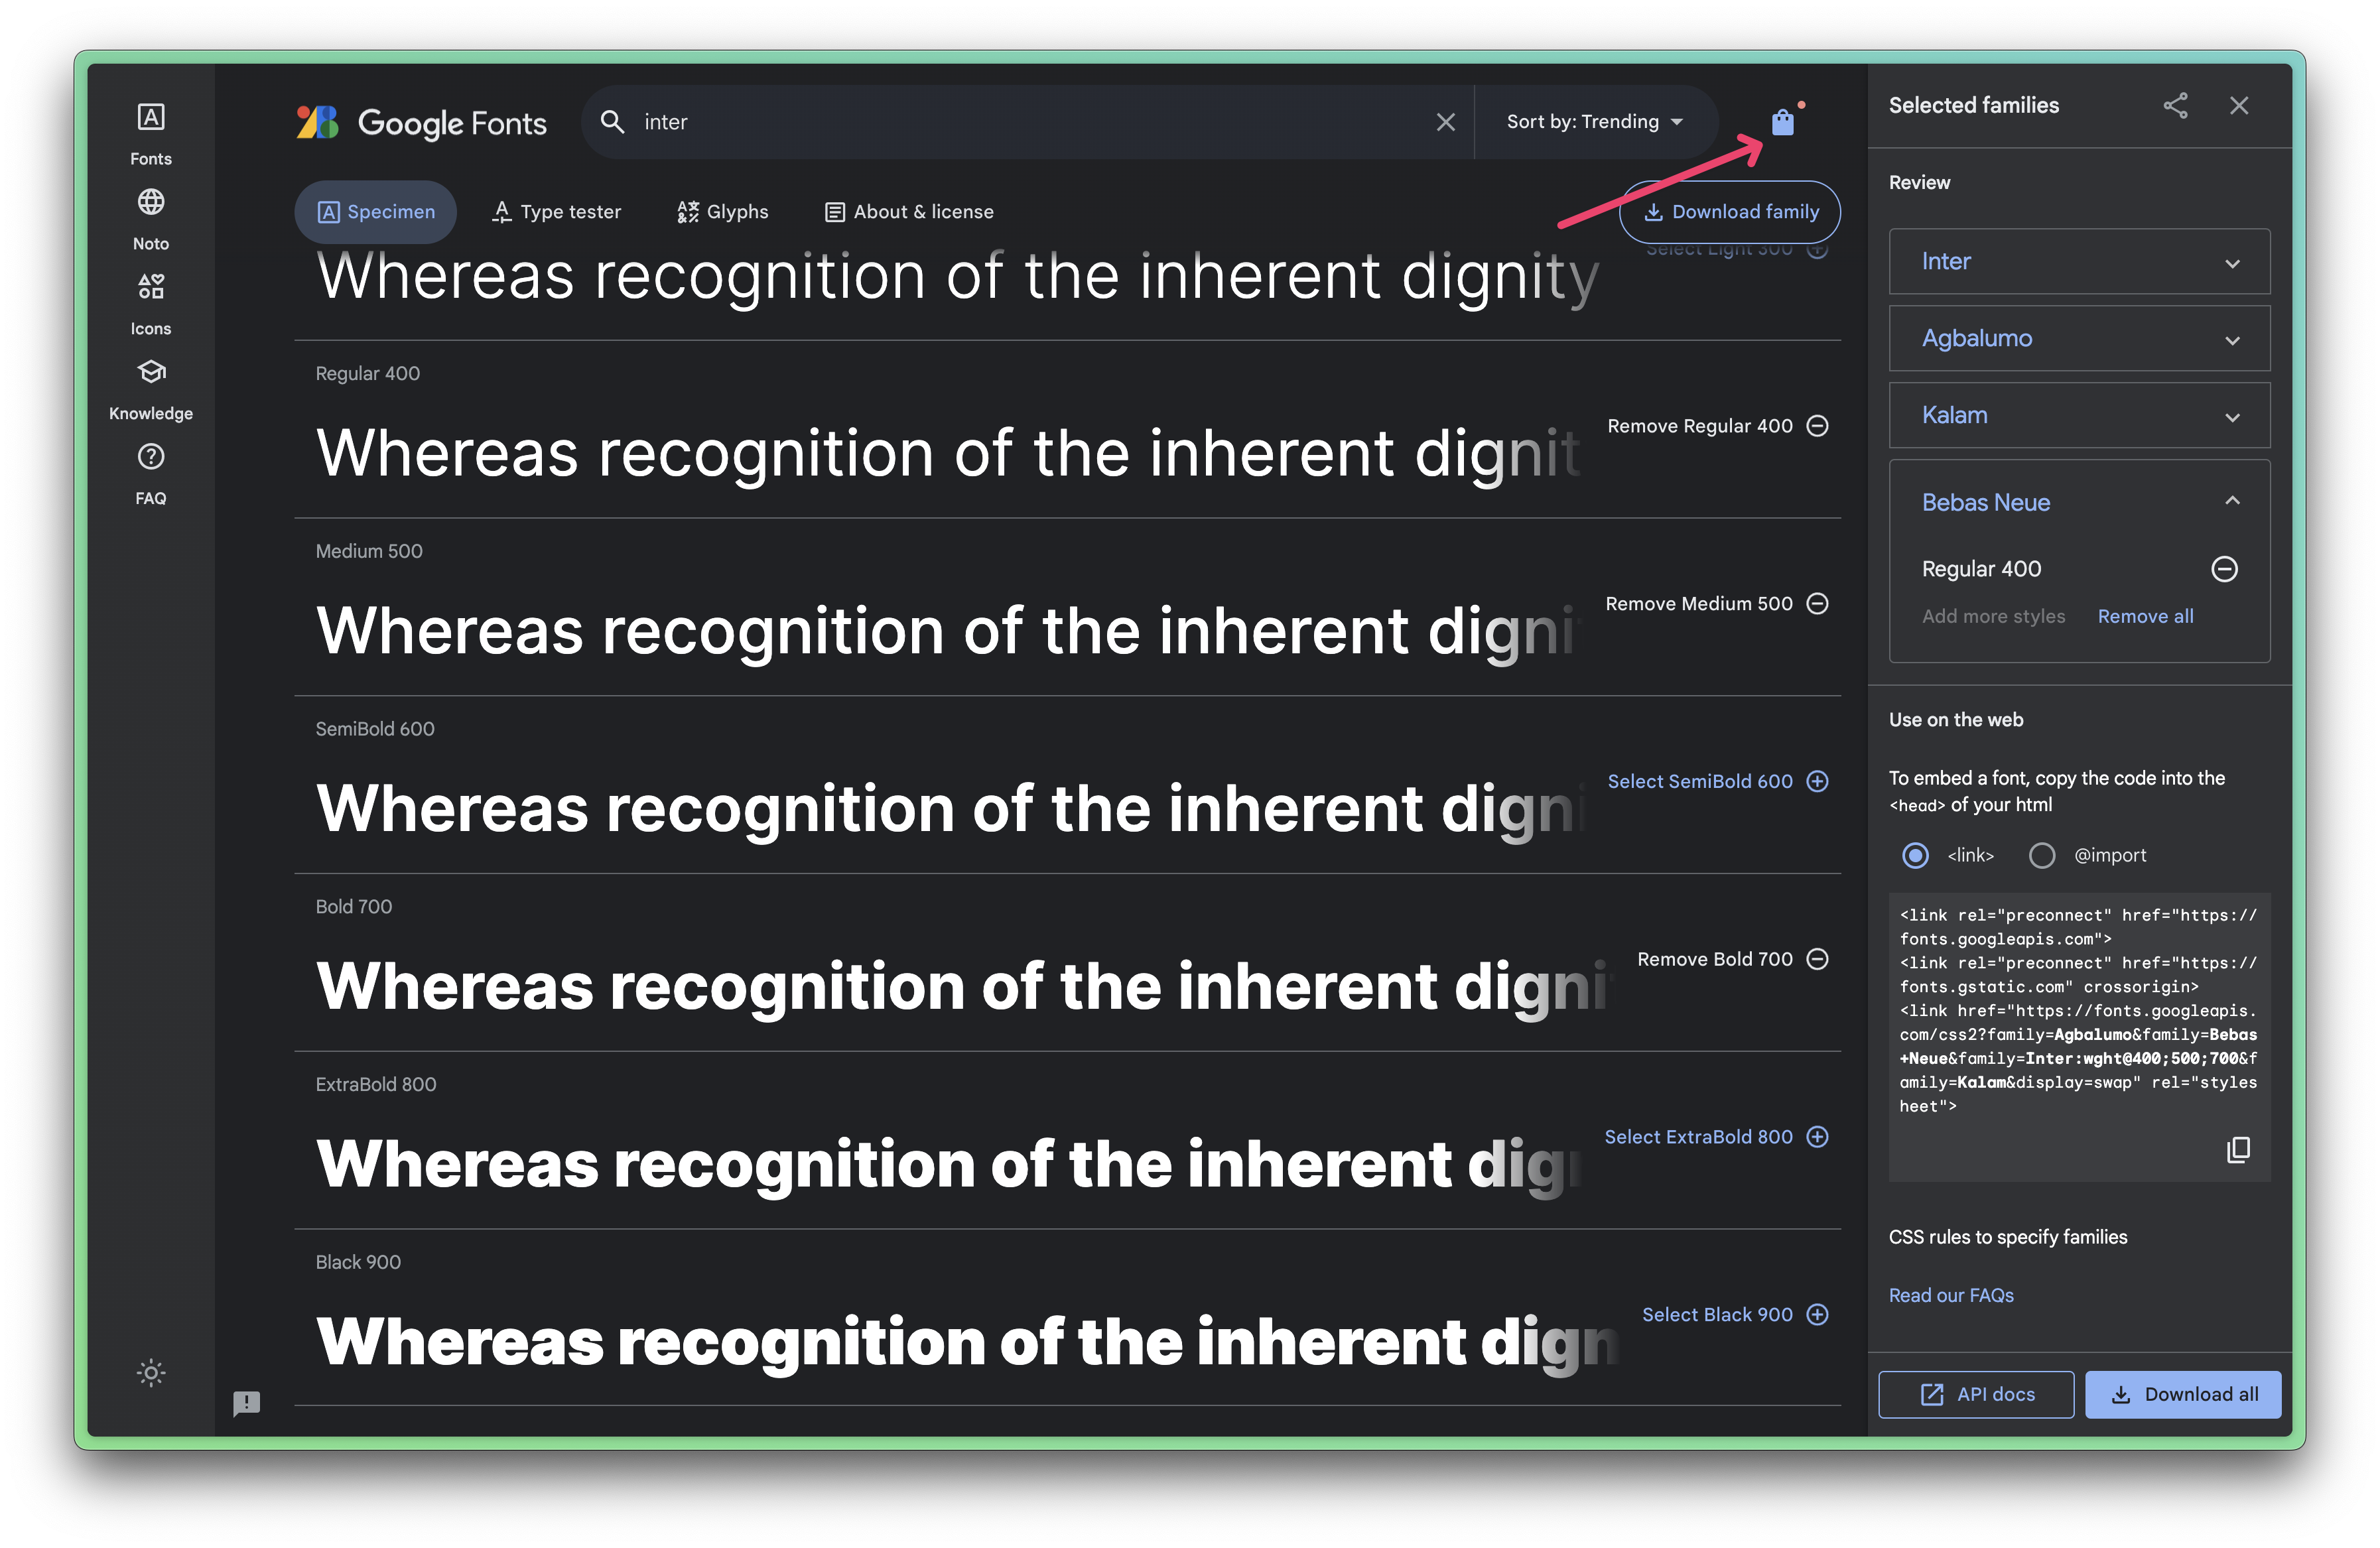
Next up, we need to grab the code to embed the fonts. Click on the @import option and copy the the style block.
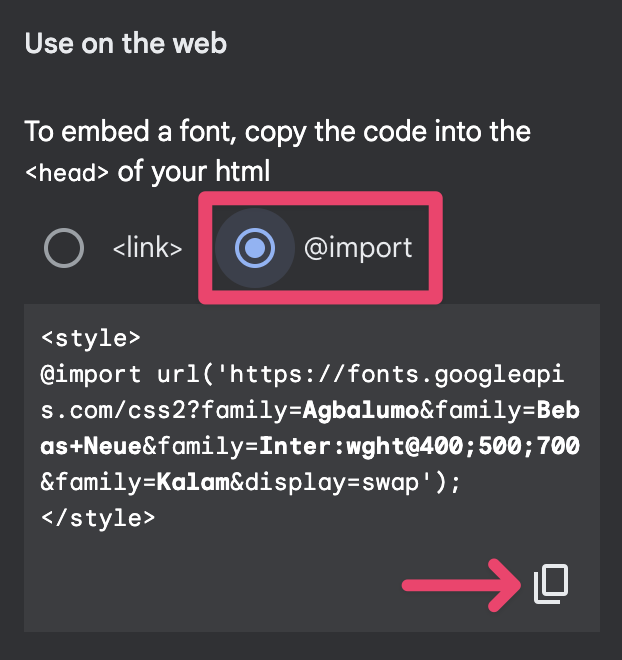
Within your Redwood project, open up your index.css file, you can find it inside the web/src directory. It should look like this:
/**
 * START --- SETUP TAILWINDCSS EDIT
 *
 * `yarn rw setup ui tailwindcss` placed these directives here
 * to inject Tailwind's styles into your CSS.
 * For more information, see: <https://tailwindcss.com/docs/installation>
 */
@tailwind base;
@tailwind components;
@tailwind utilities;
/**
 * END --- SETUP TAILWINDCSS EDIT
 */
At the very top of our file, paste in your style block. Since this is a .css file, though, we can get rid of the wrapping <style> tag:
@import url('<https://fonts.googleapis.com/css2?family=Agbalumo&family=Bebas+Neue&family=Inter:wght@400;500;700&family=Kalam:wght@700&display=swap>');Now, we just need to set Tailwind up to recognize our fonts. Within the web/config folder, you should find a tailwind.config.js file:
/** @type {import('tailwindcss').Config} */
module.exports = {
  content: ['src/**/*.{js,jsx,ts,tsx}'],
  theme: {
    extend: {},
  },
  plugins: [],
}
The key to working with the Tailwind config file is understanding the how the extend object works. Anything you place inside, EXTENDS the existing Tailwind styles. But, anything listed outside the extend block (but inside the theme block will override the Tailwind classes.
For example, if you add the Secret Santa color palette within the theme block, you WILL NOT have access to any of the colors Tailwind provides:
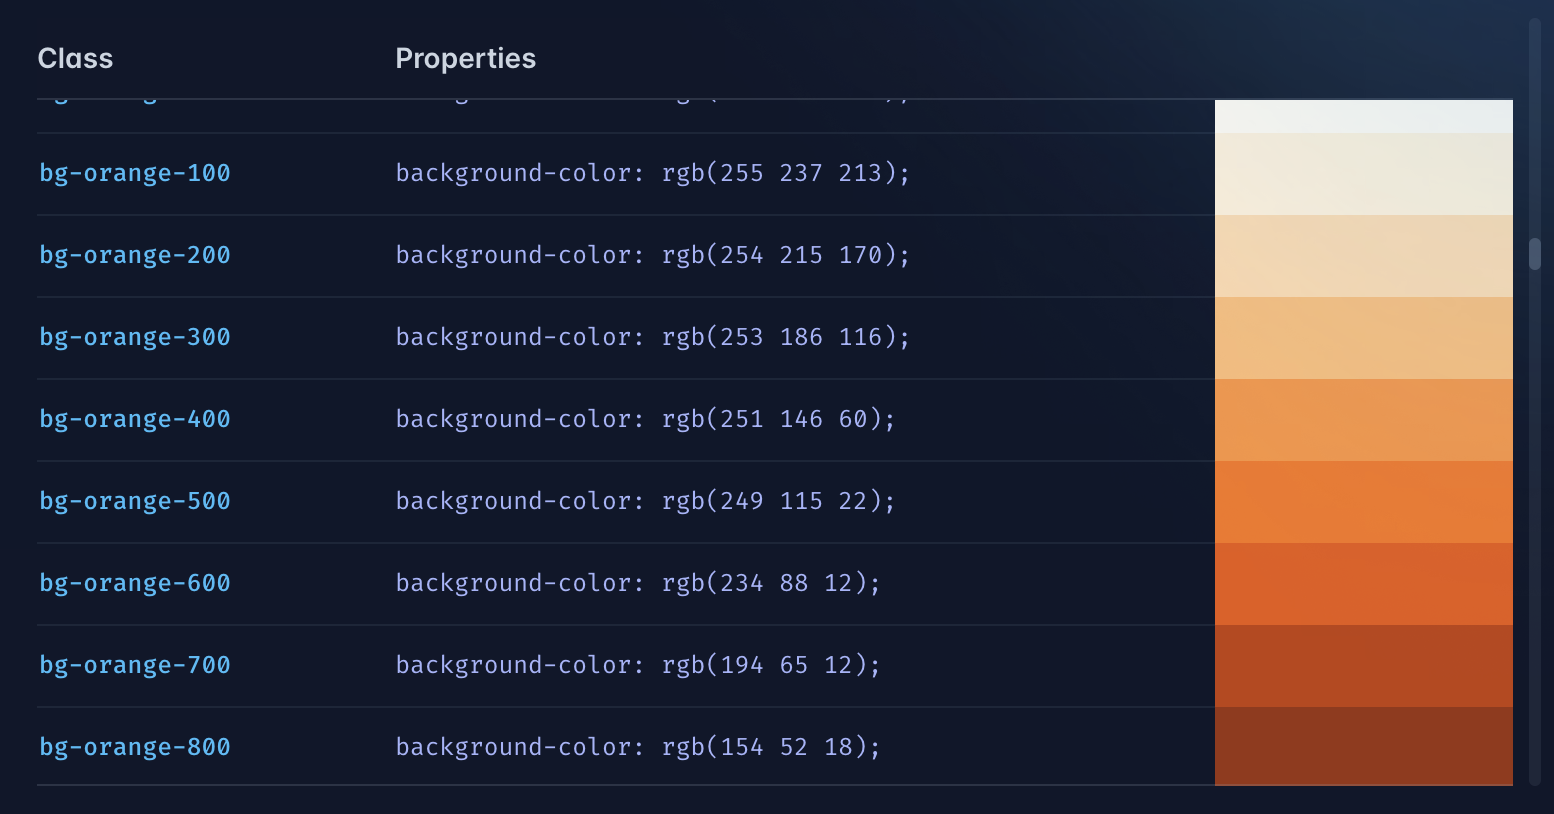
But, if we add the palette inside the extend block, then you can use the Secret Santa colors AND Tailwind’s colors.
We’ll come back to the colors, but for now, let’s stay focused on our fonts.
I really don’t need the fonts that Tailwind uses, so I’m going to stick that outside the extend object:
/** @type {import('tailwindcss').Config} */
module.exports = {
  content: ['src/**/*.{js,jsx,ts,tsx}'],
  theme: {
    extend: {},
    fontFamily: {
      condensed: ['Bebas Neue', 'sans-serif'],
      handwriting: ['Kalam', 'cursive'],
      sans: ['Inter', 'sans-serif'],
      script: ['Agbalumo', 'cursive'],
    },
  },
  plugins: [],
}
If you want more information on customizing fonts inside Tailwind, you can check out their documentation. But, here are the clif notes:
Take the first font, for example. I’m calling it
condensed— then, I’m using an array to pass it a list of fonts. So, anytime I refer to the condensed font, first it’s going to look forBebas Neue. If that doesn’t exist, then it will use the browser’s defaultsans-seriffont. — Of course, you could make this list longer, but 2 is perfect.Now, within my code, I can use the font Bebas, by applying the
font-condensedstyle. — same thing applies for our other 3 fonts.
Now, let’s add our colors. Within our Figma file, I have a Style Guide page that lists out all the colors within the application, along with the color name, and hexadecimal value.
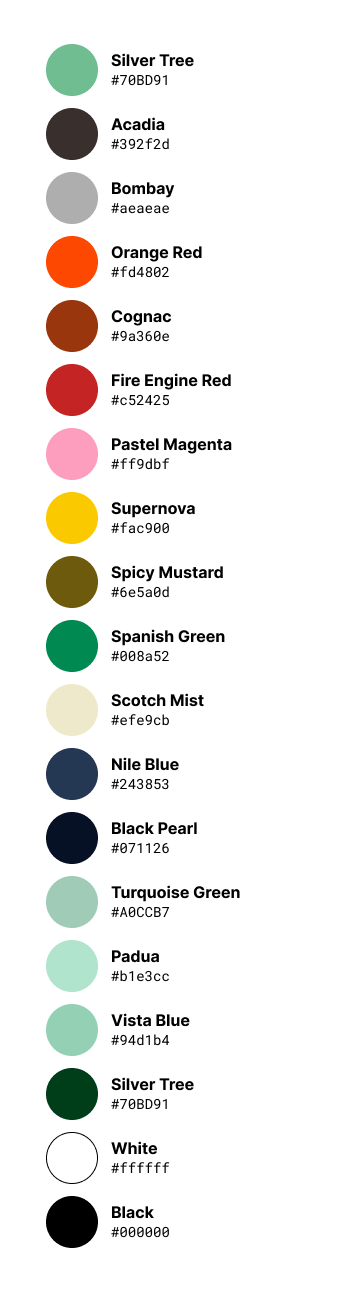
I still want to use Tailwind’s color palette, so I’m going to stick our custom colors inside the extend block:
/** @type {import('tailwindcss').Config} */
module.exports = {
  content: ['src/**/*.{js,jsx,ts,tsx}'],
  theme: {
    extend: {
      colors: {
        supernova: '#fac900' /* yellow / warning */,
        spicyMustard: '#6e5a0d' /* dark yellow */,
        bombay: '#aeaeae' /* light gray */,
        orangeRed: '#ff4600' /* red / error */,
        cognac: '#9a360e' /* dark red */,
        fireEngineRed: '#c52425' /* dark red */,
        silverTree: '#70bd91' /* light green */,
        turquoiseGreen: '#a0ccb7' /* very light green */,
        spanishGreen: '#008a52' /* medium green */,
        cruseo: '#0a5d2c' /* dark green */,
        countyGreen: '#003d19' /* darkest green */,
        acadia: '#392f2d' /* brown */,
        scotchMist: '#efe9cb' /* light brown */,
        nileBlue: '#243853' /* blue */,
        blackPearl: '#071126' /* navy blue */,
        pastelMagenta: '#ff9dbf' /* pink */,
        padua: '#b1e3cc' /* lightest green - placeholder color */,
        vistaBlue: '#94d1b4' /* light green - placeholder color */,
      },
    },
    fontFamily: {
      condensed: ['Bebas Neue', 'sans-serif'],
      handwriting: ['Kalam', 'cursive'],
      sans: ['Inter', 'sans-serif'],
      script: ['Agbalumo', 'cursive'],
    },
  },
  plugins: [],
}
Feel free to check out Tailwind’s documentation on customizing colors. But, you’ll notice that the object key is the name of the color and value is the hexadecimal code. I also like to provide a brief description of the color. Even, though all the colors are named, sometimes it’s hard to tell the difference between Nile Blue and Black Pearl
Sweet! Now, our project is configured and we’re ready for our first challenge.